I’ve always hated sign up forms, especially the really long ones. My approach to any type of forms, whether it be sign up, contact or sale forms has always been “if it’s not required don’t ask for it”.
Today you are going to learn how to make the shortest sign up form ever, one that doesn’t even require your users to verify their emails, for this we are going to need one of my favorite API’s.
RPX
RPX is an API that combines the most popular sign in API’s which are, Google, Facebook, Twitter, Hotmail, AOL OpenID and MySpace between others. You might have seen this system around, a popular site that uses it is Blippr.
Our sign in script will consist of three files. The login form, profile page and sign out form. But before we begin head over to RPX and make a account.
The Login Form: login.html
The login form will only consist RPX’s embed. Make sure you replace the website name with yours. The token URL is our profile page URL.
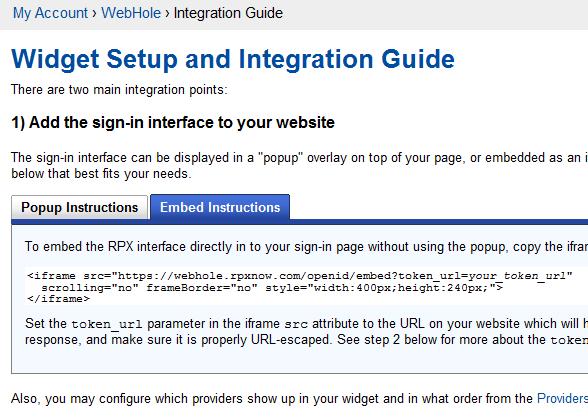
RPX Embed Instructions Page
Content of login.html
<iframe src="https://yoursite.rpxnow.com/openid/embed?token_url=http://yourwebsite/profile.php"
  scrolling="no" frameBorder="no" style="width:400px;height:240px;">
</iframe>
I have configured my providers to be only email providers only, because like my posts says, we are going to let users sign in with their email.
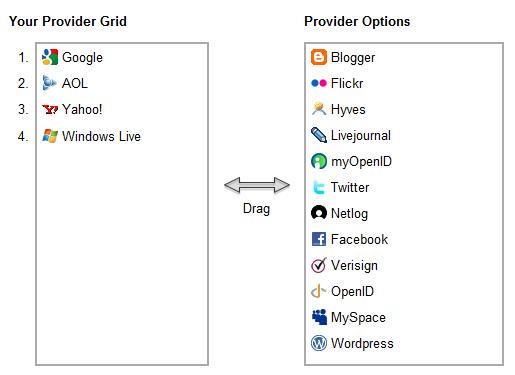
The List Of ID Providers I Chose
So when you visit login.html you should see this.
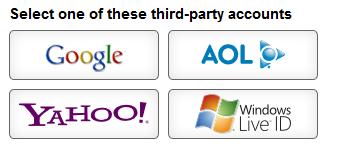
This is what login.html should look like
When users choose their profile they are taken to the provider’s sign in page.
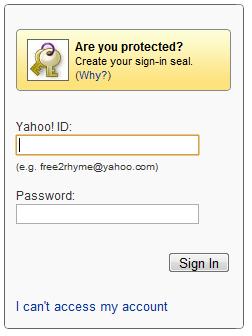
I chose Yahoo! as my provider
and when they sign in they are redirected to the token URL you put in the iframe with an XML or JSON response.
The profile page: profile.php
Before we look at the contents of this page, go to RPX and click on the “Test Widget” option, sign in with any email provider and familiarize yourself with the response.
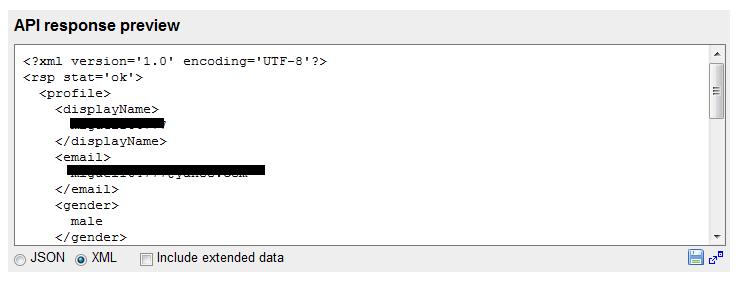
Yahoo's Reponse
You can choose JSON or XML, but the extended data is only available if you sign up for the paid version of RPX.
Now let’s see how we would parse the response in our token url ( profile.php ). I have written a tutorial on how to parse XML and another one for JSON. I will be using JSON.
Let me describe the process of our profile script first.
After the user has sign in to with the provider…
- the user is redirected with to the token url with a token in the url
- we $_GET the token
- make an array that includes the token, API key, and response format (XML or JSON)
- make a call to RPX with the array, we’ll be using cURL
- store RPX’s response in a variable called $auth_info wich has been decoded using json_decode
- if $auth_info[‘stat’] == ‘ok’ everything is fine, other wise notify user
- if $auth_info[‘stat’] == ‘ok’ we can then manage the user’s information however we want.
Here is sample response from signing in with Yahoo that is stored in our $auth_info json array. Gmail, AOL, and Hotmail are the same.
Some providers respond with data that other’s don’t have, like gender for example, but they all return the user’s email and that is all we need to let people sign up.
{
  "profile": {
    "verifiedEmail": "username@yahoo.com",
    "name": {
      "formatted": "John Smith"
    },
    "displayName": "Jsmith",
    "preferredUsername": "Jonh S",
    "utcOffset": "-06:00",
    "gender": "male",
    "providerName": "Yahoo!",
    "identifier": "https:\/\/me.yahoo.com\/a\/7Q35G34qgXXLBa6FRjs3E8hhEjEKQ9Uvew--#8f902",
    "email": "username@yahoo.com"
  },
  "stat": "ok"
}
The Contents of profile.php
<?php


$token = $_GET['token']; // get token from provider

if(isset($token)) {

// create post array
$post_data = array('token' => $token,
'apiKey' => 'xxxxxxxxxxxxxxxxxxxx',
'format' => 'json'); //Set to either 'json' or 'xml'

// set up curl
$curl = curl_init();
curl_setopt($curl, CURLOPT_RETURNTRANSFER, true);
curl_setopt($curl, CURLOPT_URL, 'https://rpxnow.com/api/v2/auth_info');
curl_setopt($curl, CURLOPT_POST, true);
curl_setopt($curl, CURLOPT_POSTFIELDS, $post_data);
curl_setopt($curl, CURLOPT_HEADER, false);
curl_setopt($curl, CURLOPT_SSL_VERIFYPEER, false);
$raw_json = curl_exec($curl);
curl_close($curl);

// parse the json response into an associative array
$auth_info = json_decode($raw_json, true);

// process the auth_info response
if ($auth_info['stat'] == 'ok') {

/*
here you can do anything with the contents of the json array
such as storing the information in cookies, sessions or a database
*/


}
else
{
 // the user is trying to access the profile page directly
}


?>
The Logout Page: logout.php
The logout page is only really necessary if you created any cookies. In this page you would destroy the session or expire the cookies.
Very Important:The only way to sign a user completely out of the system is to close the browser so don’t forget to tell the person this, otherwise if a person goes to the login.html page he/she can sign in using the previous person credentials.